Working with clay has always been something I wanted to do. I remember all the cool crafts I'd make as a kid in school, which my awesome Mom still has by the way but with a busy life, it is almost impossible for me to get any free time to craft or create. I need that time, it helps me download and clear my head. Creating something from nothing is magic to me, nothing gets me more excited than to take something uncool and make it rock with radness!
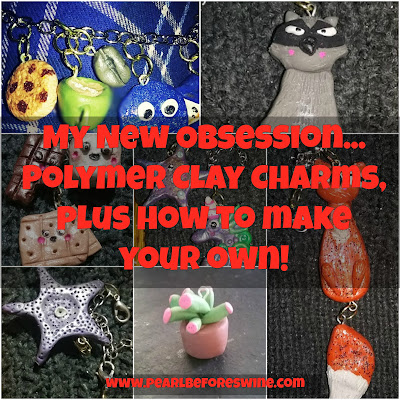
I got blessed with having extremely crafty girls. They are always blowing my mind with their creations. The charms are no exception. Kaitlyn found them on Instagram and Pinterest. At first, I kept thinking oh how is that even possible to make something so small and cute. How do you make an eye that tiny? It's crazy!
Well after some research we hit the store. Sculpty Clay is what we use for all the charms we make and in less than a week, we've made quite a few already. The baking time is really quick in a low-temperature oven.
I like Sculpty Clay the best because it has a large variety of color to choose from and it is super easy to work with.
Today, I'll be quickly going through how I made a fox charm and the different items you'll need to make your own. Now, this does take a lot of patients but don't give up. It maybe won't work the first time, don't worry, just keep trying and you'll get it in the end.
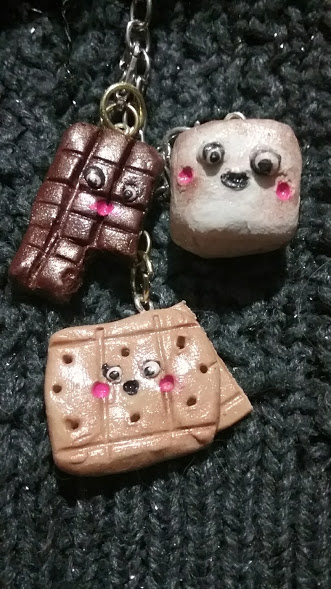
Remember these charms don't have to be perfect. You'll notice on the smores I made that the eyes are a little whack. LOL! My daughter teases me constantly. So what, I haven't perfected my eyes yet. I will and it is so much fun making her laugh at my sad attempts now in the mean time.
To make this Fox Charm
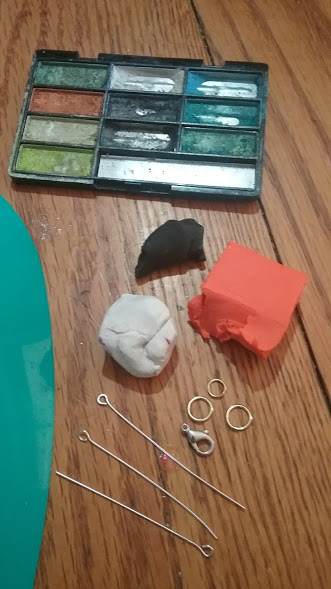
Materials you'll need:
old eyeshadow palette (optional for shading and highlighting)
Orange, White, and Black Polymer Clay
Jump Rings
Lobster Clasps
Eye Pins
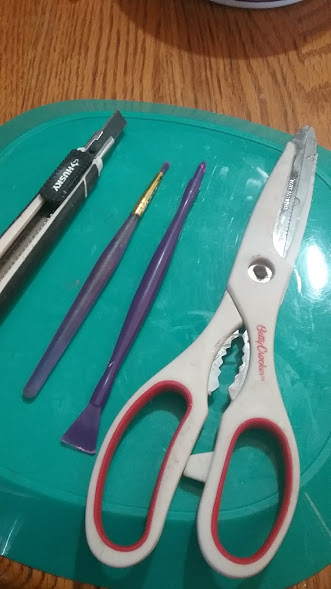
Tools you'll need:
Scissors
pliers
dry paint brush for shading
x-acto knife
a plastic plate or a clean working surface
To start I took a small amount of orange clay and working it with my hands. I rolled it into a ball using the palms of my hands in a circular motion.
Next, I grabbed more orange clay and started to form the body. I made the neck long tear drop shape.
Attach the head carefully by pressing down on the body. Turn over and smooth the seams together from head to body. Making it a flat even surface. I would suggest doing this all around the charms head and all seams. Just make sure you preserve the shape you want. Too much smoothing can ruin a design, trust me I know from experience.
Shape another small piece of orange clay for the ears and legs. The legs I made in a small tear drop shape as well. Place them on with the pointy end pointing down.
Now you should have something like what is pictured below.
Last, I made the eyes. Which are hard for me, I never know if I should paint them or make them with clay.
I used clay for the eyes in tear drop shapes as well. Small sides pointing together. Adding little slits of black with clay was so hard, I would maybe paint those on next time. Add little dots on the cheeks and done.
For the tail, I used small amounts of orange and white. I formed somewhat of a tail shape and left that separate.
Add the eye pins. One for the top of the foxes head. One below his bottom, and One more for the tail.
This is where you can add any shading or extra color with the eyeshadows. I used a little bit of orange and glitter.
Using the clay tools make small lines, not too deep along the body, head, and tail for fur marks. Add three little slits on the top of each foot.
Bake in the oven according to your clay's directions. For me, I bake at 220 degrees for 20 minutes. When they are done. I turn the oven off and let them cool in the oven.
BE SURE** to air out the oven before baking any food. Clay fumes can be toxic for your food. Always make sure you have properly aired out the oven before making any meals in there.
Once cooled. Remove from oven. Using pliers I added the jump rings and lobster clasps. Connect to a short chain and you have a cute little charm!
Gloss with a Modge Podge that dries clear for a nice shiny look!
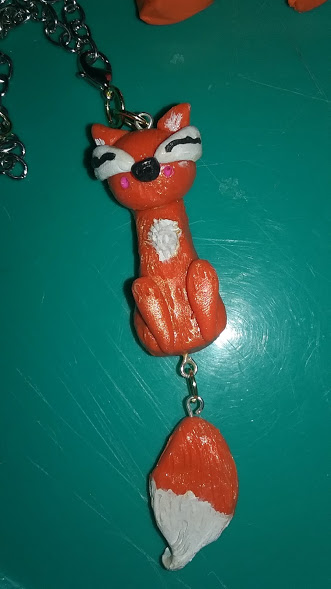
Below is the finished product!
We have been very busy...
making charms...
as you can see!
LOL! These are the s'mores I was telling you about! Those eyes, though!!
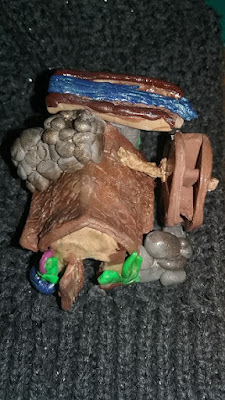
A water wheel and yes the wheel moves!
Cookie, coffee mug, coffee bean, and cookie monster charms!
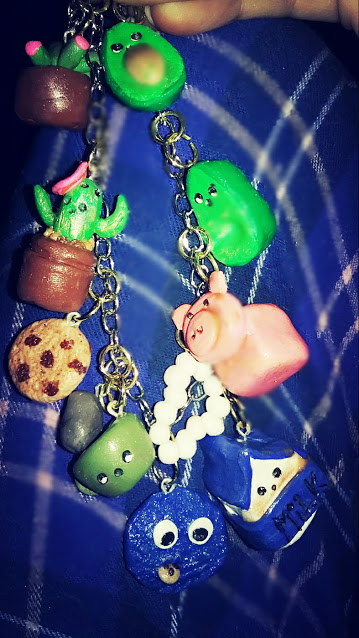
Avocados, cactus, pigs, and pearls!
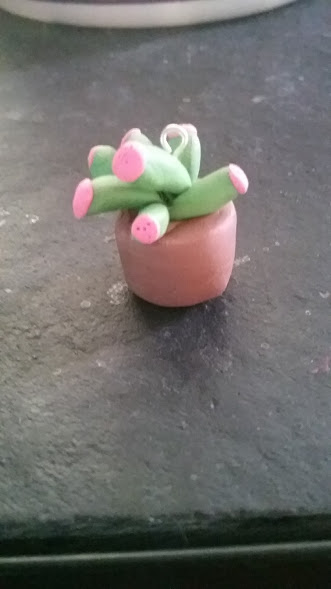
Cactus charms
I also got creative and made a spoon rest with a cactus design. I am in love with this clay, so much fun to play with!
So, now you can see that I really have been obsessed with this sculptey clay and making charms. I wasn't lying! LOL!
I hope you can have as much fun as I have. I really just enjoy the time with my daughter and making her laugh. She is so precious and the time is worth every second.
**Updated 3/16/2017
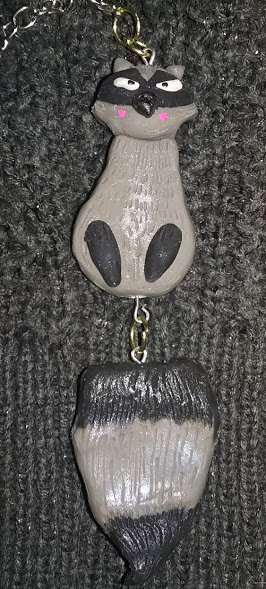
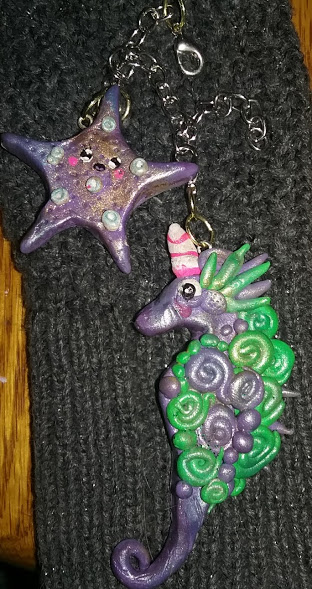
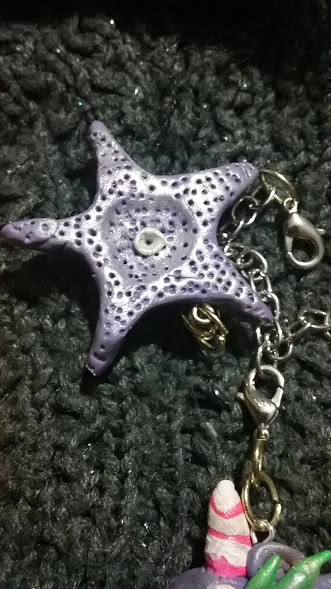
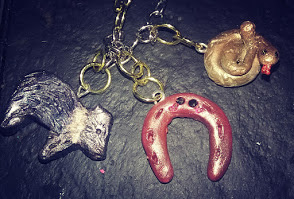
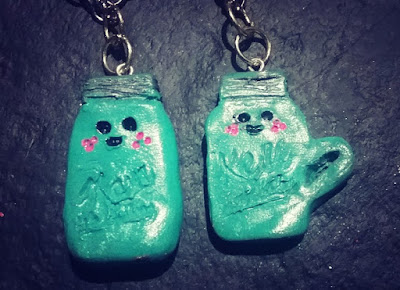
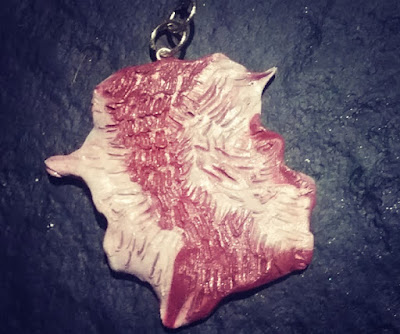
I've made more!






No comments:
Post a Comment
Thank you for commenting!